Crib sheet for digital test
Please find a downloadable and printable version of these digital administration instructions in the Teacher Guidance document in the Downloads section.
Prepare the material
- Check minimum system requirements to ensure system compatibility.
- Allow approximately 40 minutes of testing time for each part of CAT4 levels A-G, or 30 minutes of testing time for each part of CAT4 levels X, Y or Pre-A.
- Check that computers or laptops are fully charged and working for each student.
- Check that headphones and mouse are in good working order for each student.
- Provide rough paper and pencil for the Number Analogies and Number Series tests.
Prepare the test environment
- Ensure a quiet, comfortable and well-lit room.
- Set up the computers in advance.
- Try to prevent interruptions, for example from announcements or visitors.
- Seat the students so that they are comfortable and they cannot easily copy from one another.
- Place a ‘Testing – Do Not Disturb’ sign on the door.
Prepare the students
- Make the students aware that they are taking a test, and that the usual expectations of behaviour during a test session will be in place.
Getting ready to take the test
- To access your account, you will need to add your school’s Customer ID, which will have been sent to you in an initial ‘welcome’ email.
- Students will access the test via www.testwise.com/code
- Students need to type in their access code on their own screen.
- The sequence in which CAT4 is taken is fixed and so students must work through the parts in order.
- If completing the testing over one day, a break of at least five minutes between each of the three parts is recommended.
- Students must complete all tests and parts.
- Each test is timed and students will not be able to move to the next until the time is up.
Starting the test manually
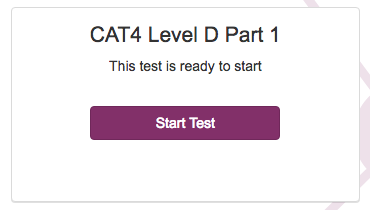
To start the test manually, the Start Test button is clicked by a Testwise user within the Student Progress, any time after the beginning of the Test Start Period.
Starting the test automatically
The test starts automatically at the beginning of the Test Start Period, without any user intervention.
Once the Test Start Period has begun, the test has started in Testwise either automatically or manually. Students can log into the Test Lobby and take their test.
Taking the test - instructions
When all the students are seated and ready, say:
“Today you are going to take some short reasoning tests. All instructions are given on screen and via the audio and you should read carefully to make sure that you understand exactly what you have to do. There will be an example and some practice questions for each test, so read carefully and work through these before starting each test.”
All instructions, examples and practice items are part of the test and are delivered on screen.
During the test
- Students must work in silence.
- If a student has a query, they should raise their hand and wait for a teacher to approach them.
- Teachers should explain that they cannot help with the test questions.
- Teachers should walk around during the test to check that students are progressing appropriately and that they are not looking at each other’s work or talking.
- Teachers should also check that the students have not rushed through any part of the test without attempting to answer each question.
- It is possible to keep the Testwise register open on the teacher’s machine and use it to track progress throughout the test. The register shows real time information about whether a student is logged on, has started or completed a test or part of CAT4 and what is in progress.
You can view student progress for all students contained within one or more sittings.
For each assessment, each student will have one of the following progress statuses displayed:
- Not Started - The student has not logged into the Test Lobby and clicked the 'Start Test' button yet.
- In Progress - The student has logged into the Test Lobby but not completed a full test yet.
- Marking - The student has completed the test and the results are being processed by the system.
- Completed - The student has completed the test and the results have been successfully processed and saved within the system.
- Failed to Finish - The student has started the test but has not completed it AND since the end of the Test Start Period, more than double the Test Duration time has elapsed. For example, if the end of the Test Start Period was 24 May 2016 at 11am and the Test Duration is 62 minutes and the student started the test at 10:50am and had not completed it by 1:04pm, then the Student Progress status will display Failed to Finish. 1:04pm is calculated by starting at 11am and adding 124 minutes (62 minutes multiplied by 2).
Closing live sittings
You can close a live sitting at any time and for any number of reasons including the following:
- The sitting was created in error and is no longer required in the system.
- You do not want the credits that will be used for the sitting to be taken from your total number of credits at the current time.
- A sitting has started and you know that one or more of the students will not be logging into the Test Lobby to take their test(s). If you want the credits returned for these students, then you will need to close the sitting.
Students who have started their tests will still be able to complete their tests after the sitting has been closed.
Once you have closed a sitting you cannot view or change its details.
To close a sitting
- Click the Sittings button from the home screen.
- All existing sittings are displayed within the Sittings List.
- Find the sitting that contains the students who will no longer be taking their tests and whose credits you want to have returned.
- Click the Progress button
 alongside the sitting name.
 - The Student Progress screen displays details about how each student is interacting with the system.
Ensure that the students who will not be taking the tests have a status of Not Started alongside their names. - Click the Close Sitting button
 .
. - Click Yes at the confirmation message.
- The Sitting List is displayed and the sitting you have just closed has a Status of 'Closed' displayed on it.
This means you cannot edit this sitting or view any access codes for it. Any students who had started their tests within this sitting will continue with the testing process.
To return to the home screen, click the Home button (the company logo in the top left-hand corner of the screen).
Test-taking instructions for students (digital tests)
Before you begin this test, please ensure you have your Student Access Code with you, which your teacher will have given you.
To take your online test:
1. Ensure you have your Student Access Code with you.
2. Open a web browser, such as Google Chrome or Mozilla Firefox.
3. Enter https://www.testwise.com/platform/code into the address bar on your web browser and press the Enter button.
4. Enter your Student Access Code into the Access code box and click the Login button.
Note: You do not need to enter dashes or spaces between the numbers, as these are already entered on the screen for you.
Note: If the Student Access Code appears to be invalid, please carefully check the characters provided. The letters will always be displayed as lower case, although I (L) and 1 and O and 0 (zero) can easily be misread. See below for the generation rules for access codes:
- There should be an alpha character within each four-character block.
- Alpha characters are not case sensitive.
- Students can enter them in either upper or lower case, but the system will always display the alpha characters on the Testwise platform page in lower case.
- The alpha character should appear at a random point within each four-character block.
- The same number cannot appear in the same block three times (e.g. a111-b111 or c111-d222).
The Test Lobby screen is displayed, containing all the tests that you need to complete.
5. Click the Start test button to download your first test.

6. Note: If the Start test button is not displayed, this is because the Test Start Period has not yet begun or the test has been configured as manual start. The Download status bar will be displayed while the test is downloading.
7. Once the test has downloaded, follow the on-screen instructions until you have completed the test.
8. To log out of the Test Lobby, click your name in the top right of the screen and select Logout from the menu. Note: If you leave the Test Lobby unattended for more than 20 minutes, you will automatically be logged out of the Test Lobby.
9. When you have finished all tests and logged out of the Test Lobby using the Logout menu option, you can close your web browser.
At the end of the test
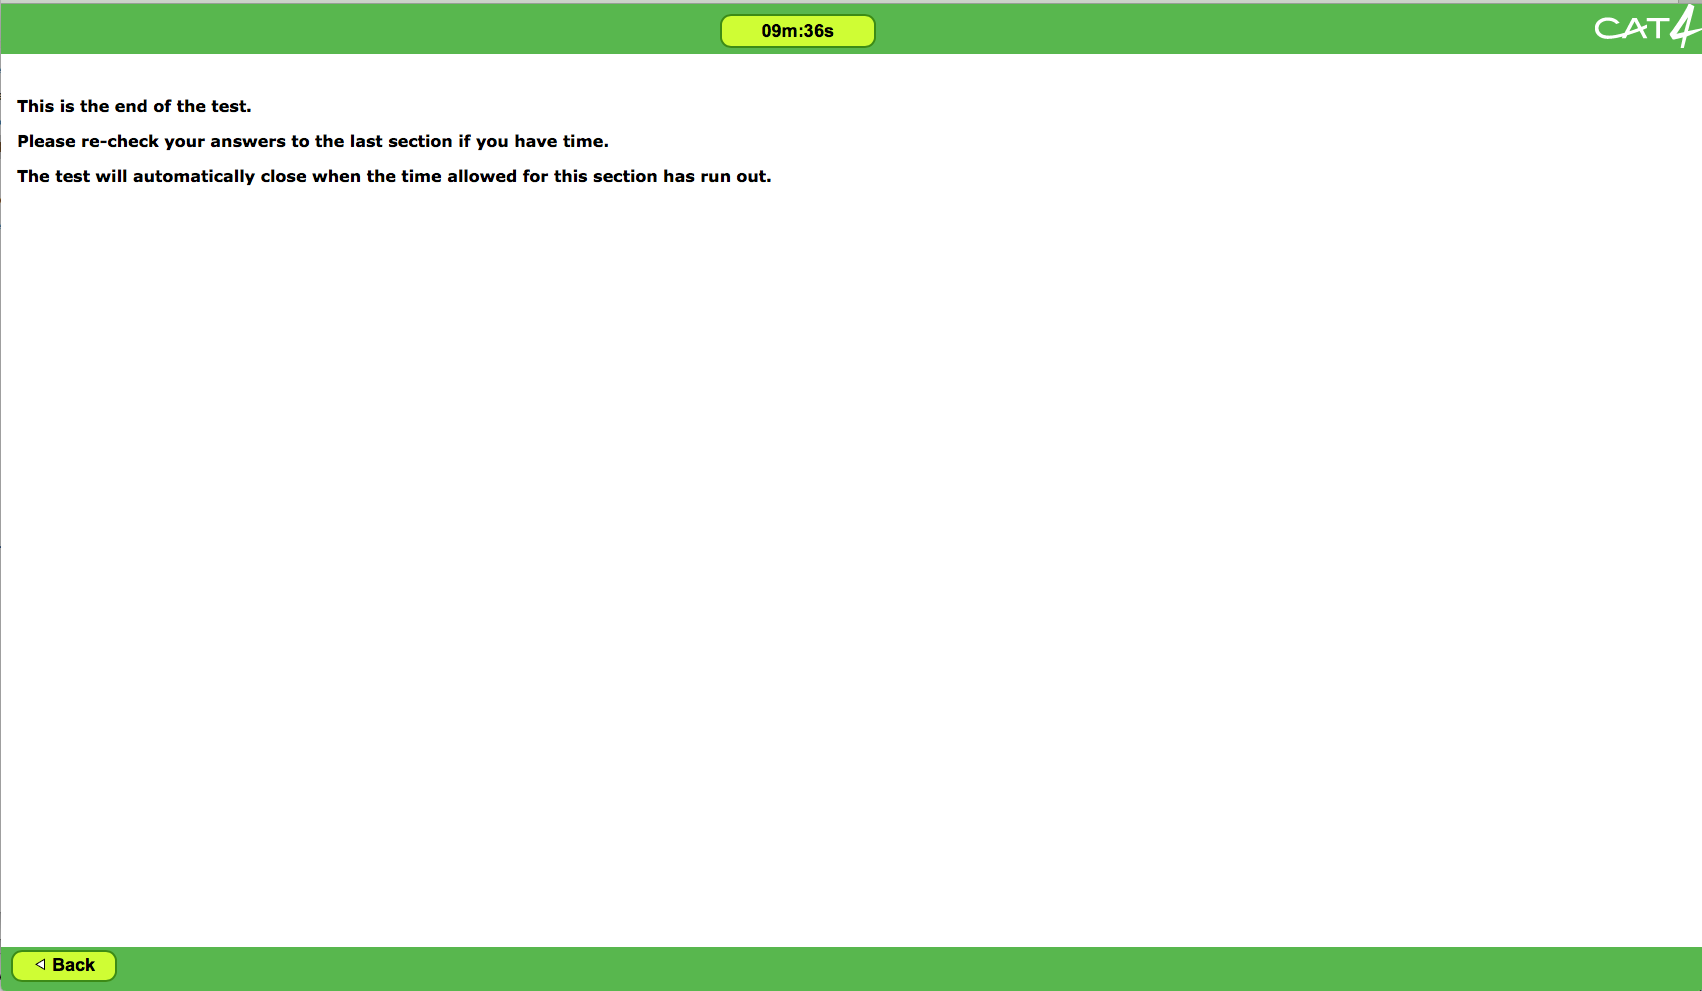
At the end of each test the following screen will appear:

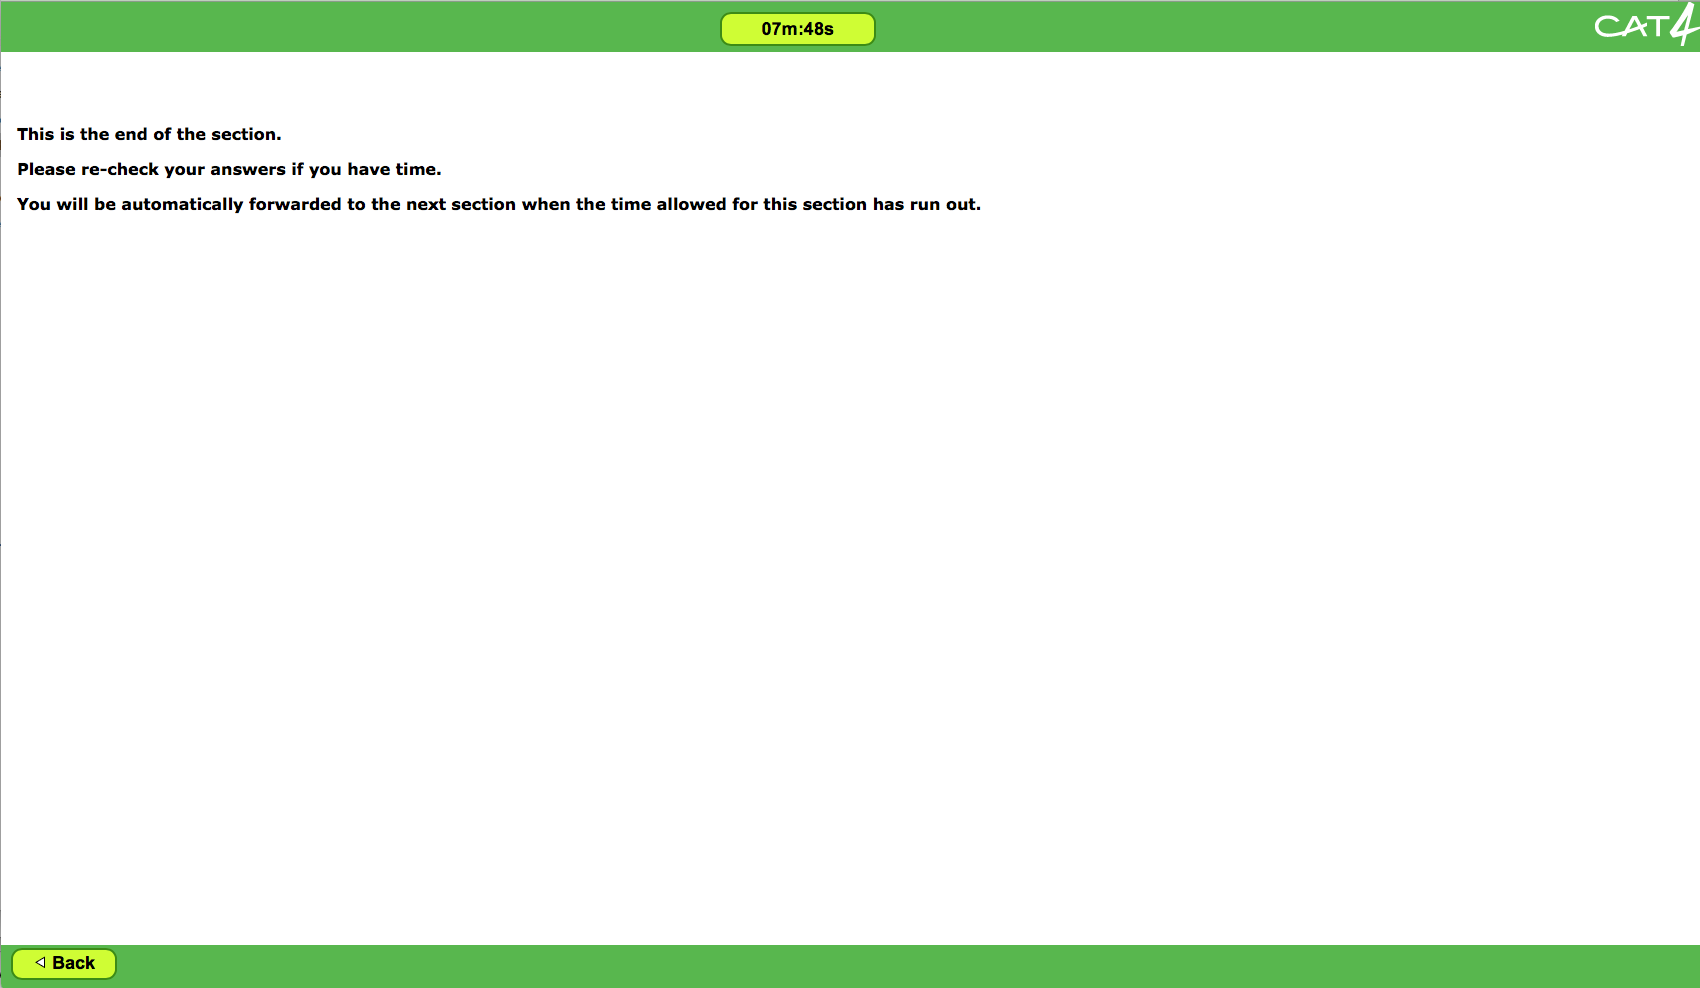
At the end of each part the following screen will appear:

When all parts of CAT4 have been completed and the time has run out, the end screen will appear showing green ticks across all parts of the test.
The results are then sent to Testwise.
Students must wait until the time for the final test has elapsed. Students must not try to exit the test or close the screen by clicking on the cross at the top righthand corner as this will cause results to be lost.
Troubleshooting
Check the Testwise Support page for further information.
Exceptional circumstances
Contact the Technical Support team or check the Teacher Guidance document for more information.
CAT4 digital tests time chart
| CAT4 Digital Levels A-G | Test time* | Approximate time needed for instructions, examples and practice items | Approximate length of test session |
|---|---|---|---|
| Part 1 | |||
| Figure Classification | 10 minutes | 5 minutes | 30 minutes + settling time |
| Figure Matrices | 10 minutes | 5 minutes | |
| Part 2 | |||
| Verbal Classification | 8 minutes | 5 minutes | 41 minutes + settling time |
| Verbal Analogies | 8 minutes | 5 minutes | |
| Number Analogies | 10 minutes | 5 minutes | |
| Part 3 | |||
| Number Series | 8 minutes | 5 minutes | 41 minutes + settling time |
| Figure Analysis | 9 minutes | 5 minutes | |
| Figure Recognition | 9 minutes | 5 minutes | |
| *A timer appears on screen and counts down from the time allocated to each test. This cannot be overridden as the tests in CAT4 are strictly timed. If a student does not reach the end of the test in the given time, the test will time out and the student will be moved to the next section or will exit the test. | |||
| CAT4 Digital Level X | Test time | Approximate time needed for instructions, examples and practice items | Approximate length of test session |
|---|---|---|---|
| Part 1 | |||
| Figures | 12 minutes | 5 minutes | 32 minutes + settling time |
| Words | 10 minutes | 5 minutes | |
| Part 2 | |||
| Numbers | 10 minutes | 5 minutes | 31 minutes + settling time |
| Shapes | 11 minutes | 5 minutes | |
| CAT4 Paper Level Pre-A | |||
| Part 1 | |||
| Figure Classification | 10 minutes | 5 minutes | 30 minutes + settling time |
| Verbal Classification | 10 minutes | 5 minutes | |
| Part 2 | |||
| Number Series | 8 minutes | 5 minutes | 27 minutes + settling time |
| Figure Recognition | 9 minutes | 5 minutes | |
Please see Testwise: Sittings for more information.

